Being confined to your living space during a pandemic can be stressful, especially in such indefinite and uncertain times. It can also be fun and inspiring. While the news cycle and Netflix are easy ways to stave off boredom, there are countless non-digital ways to entertain ourselves in our own backyards.
Bushcraft projects are a good way to become familiar with elements of the outdoors while learning useful survival skills. Practitioners use knives, saws, hatchets and paracord, among other tools, to create essential camping and survival items. Most enthusiasts I know prioritize whiskey on the trail as much as their pocket knives.
Being quarantined with my family was the perfect opportunity to teach the kids some basic bushcraft skills while brushing up on my own.
Building a shelter is a priority in both bushcraft and in wilderness survival. It acts as a meeting point and a temporary place to call home. It is also a location to orient yourself to while exploring your environment.
There are many types of structures you can build, some more elaborate than others. Because of its quickness, simplicity and effectiveness, we went with a classic overnight survival shelter.
We kept it small. An overnight shelter should be tight enough to hold in your body heat. It would ideally be slightly larger than its inhabitant(s), leaving some room to shuffle around in.
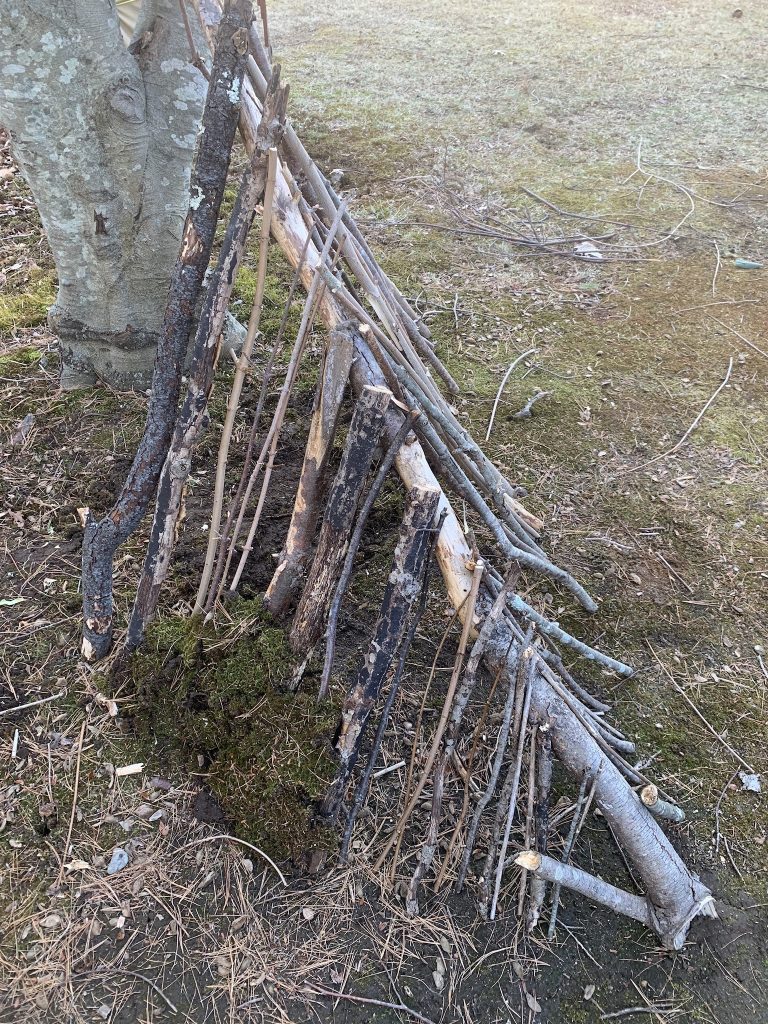
We laid one end of an 8-foot-long branch between the split of a tree trunk with the other end resting on the ground. This branch supports the whole shelter, so it needs to be strong. The split in the tree is about 4 feet high, and serves as the tallest point of the shelter, leaving plenty of head room for a child to sit up and lie down in.

Next, we leaned sticks vertically along both sides of the support branch. They must be laid in at an angle to create an A-shaped frame. For added sturdiness, push the tips of the sticks into the ground a little, giving them a little more support than just gravity alone. The entrance is at the top by the tree trunk, and should be wide enough to get in and out with little trouble.
The frame was complete. It was time to fill the gaps.
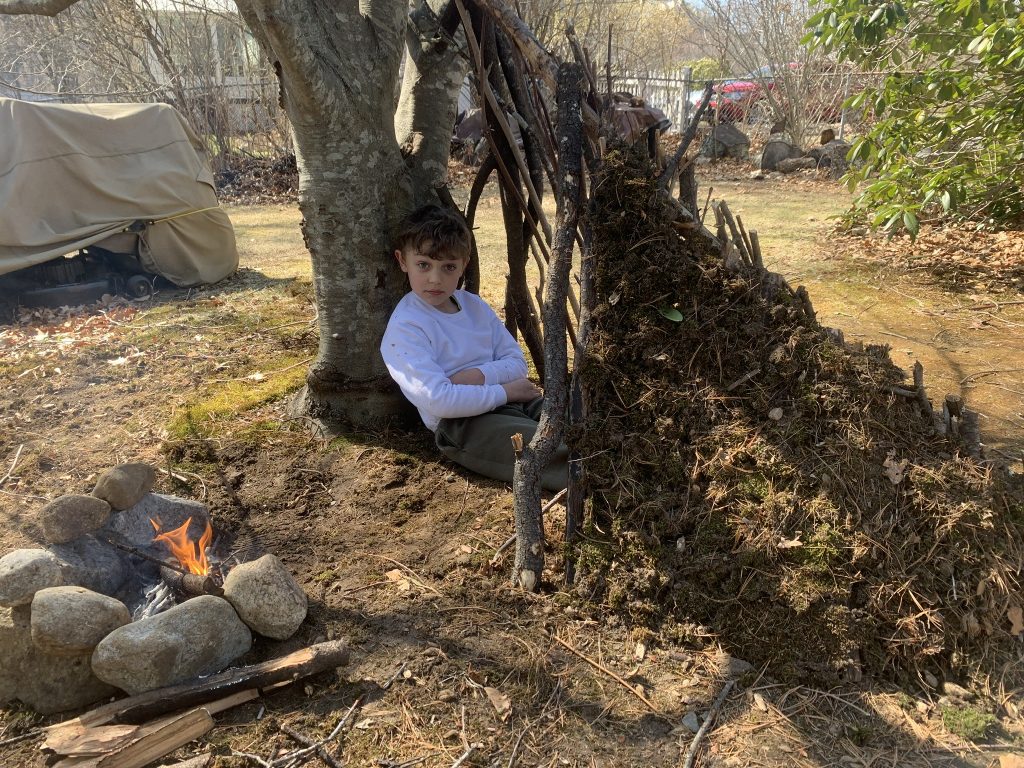
I dug up chunks of moss surrounding the tree and piled it up against the sticks. Leaves, pine needles, and other debris work as well, but moss is ideal. The dirt that sticks to it acts as a good insulator, and helps it stick to the frame.
No bushcraft camp is complete without a fire pit. Since this was more of an educational exercise, I kept it small. It is illegal to have a residential fire outside without a cover, but we are in a global pandemic, and I was feeling saucy.
The fire pit should be close enough to the entrance of the shelter to provide heat inside, but far enough away to allow easy access in and out. Also consider a distance that will not burn down your shelter or the tree that supports it.
I scraped down into the dirt a little to clear away any debris. We got some rocks from behind the shed and piled them into a circular barrier on the cleared spot, leaving an opening that faces the entrance to the shelter. This allows the heat to escape in that direction. The barrier blocks wind, and contains and directs the heat. It also prevents coals from blowing away to start fires elsewhere.
In the days following the shelter build with the kids, I made some reinforcements to it. I stacked tree bark from our wood pile along one whole side in which the gaps will be filled with moss. I also filled gaps in the crest. I tinker with it a little each day or so, mainly to occupy some time during our quarantine. I am already getting ideas for the next build.
More Posts by The Author:
Spring Hiking Tips: Get out there!
Paciorek on Pinks and Purples: Prolific painter talks color
Take a Hike!: Top RI hiking trails for spring
The Great Outdoors: Our intrepid outdoorsman explores the woods under quarantine
Take a Hike! Bring leaf peeping to a whole nother level
